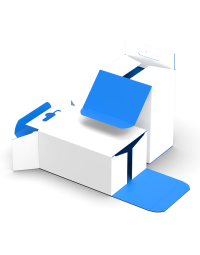
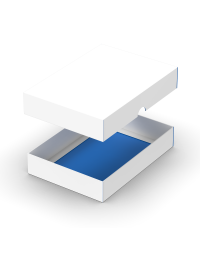
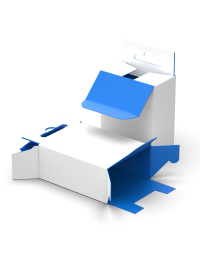
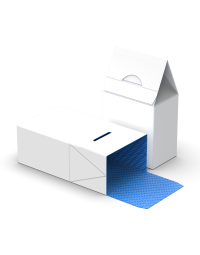
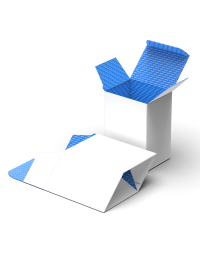
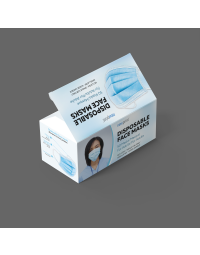
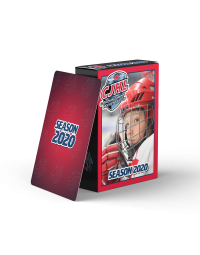
The print process for packaging has some unique elements and your design files need to be set up a certain way in order to be print-ready.
To make sure that the packaging your customers will see is the one that you envisioned, the file you send to your printer has to be print-ready. If you are wondering what a print-ready file is, it is a PDF file that is set up in accordance with the print process requirements. Compared to printing simple straight-cut products, the print process for product packaging has some specific elements you need to consider when creating a design file to ensure that the process will go as smoothly as possible.
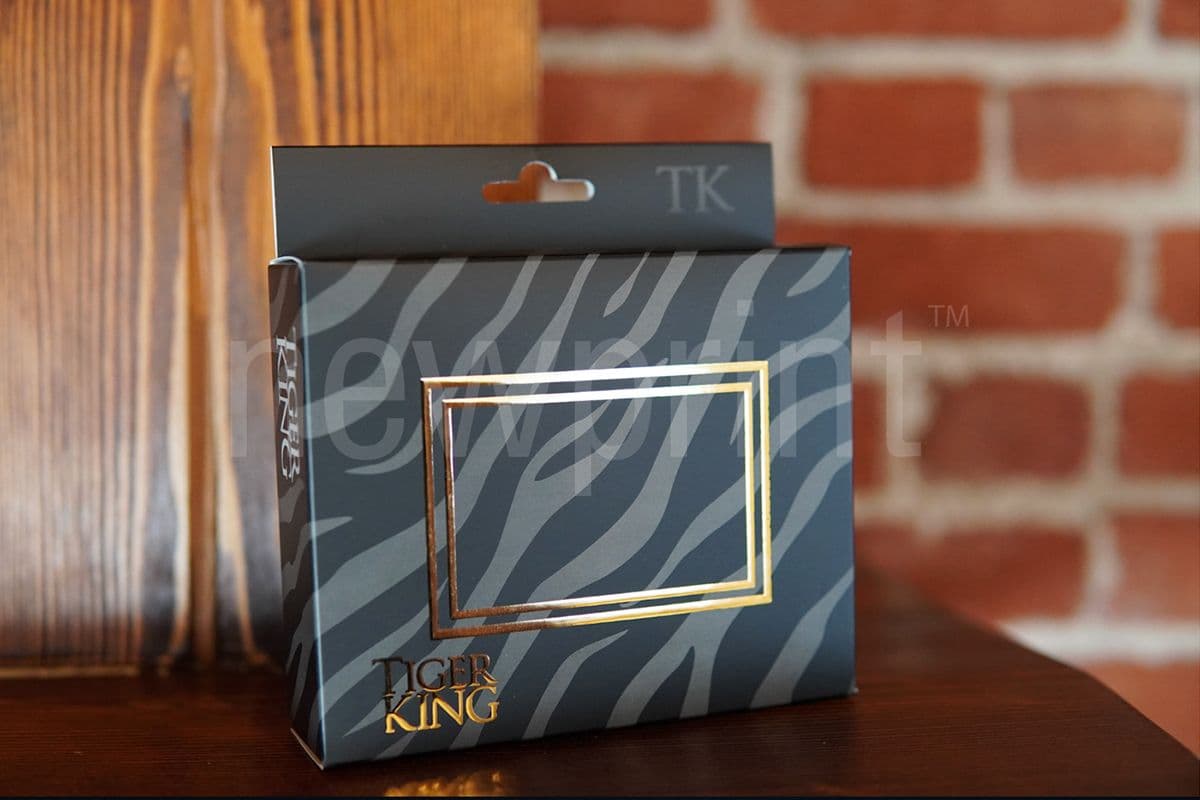
Defining the vital elements of your packaging
Before you even begin to design the packaging for your product, you need to figure out its key properties. So the first stage of your packaging design should actually be defining these crucial elements:
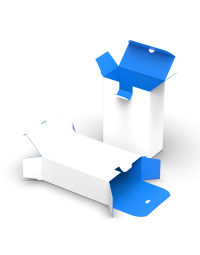
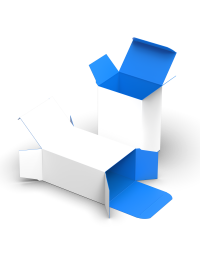
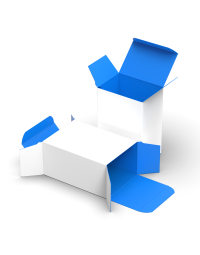
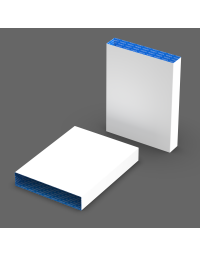
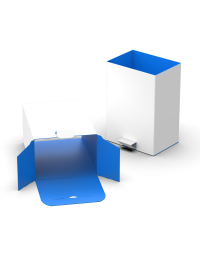
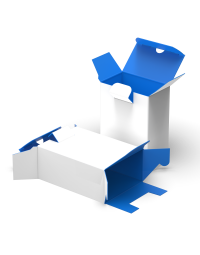
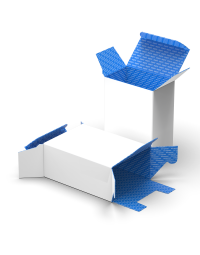
- The packaging type – think of your product and everything else that will be packaged together with it. What type of packaging would be the best fit? You can check out our Custom Packaging page and see all the available boxes and sleeves, as well as their 2D and 3D presentations. This should give you a good idea of what your options are. The boxes’ specific features are explained in our Boxes For Product Packaging blog post to help you decide.
- Packaging size – again, have the size of your product in mind, as it will largely affect the size of your packaging. The content of your packaging should fit the box perfectly, so it has no space to move around inside the box during transport and handling, which prevents it from damaging. If anything else goes inside the packaging, all of it must be accounted for when calculating the overall box size. This can include trays or holders for your product or brochures and instruction manuals.
- Materials – many factors will determine what kind of paper you should use for your packaging. Your product’s weight would be one of them – the heavier it is, the thicker the cardboard should be so that it can hold the weight safely. If you are packaging food products, you need to be sure you are using food-safe inks and paper that will prevent the ink from penetrating to the other side of the paper. Do some elements of your packaging need to be waterproof? The answers to all these questions will depend on the specificities of your product, so it is best to contact your printer and have them help you make the right choice.
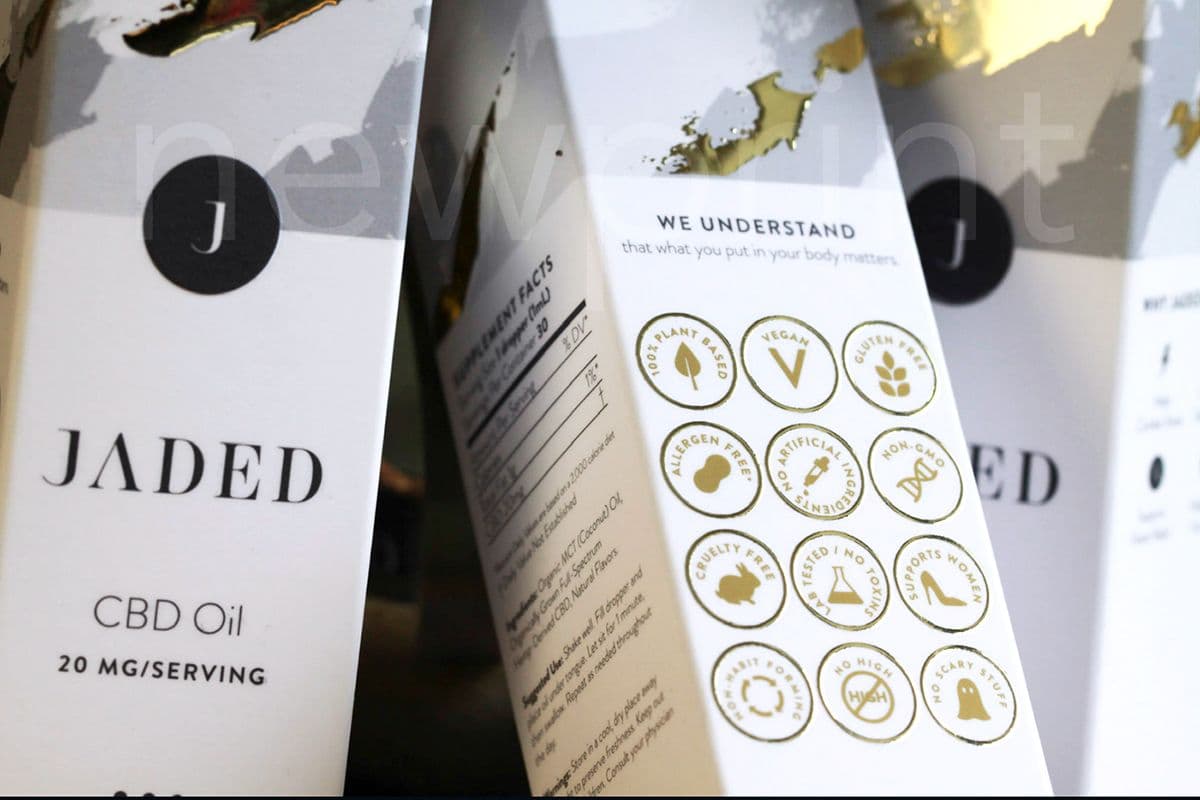
Designing your packaging
Once you have all this information, you are ready for the design stage.
You can read our 7 Tips and Tricks for Best Packaging Designs to get a general idea of how to design attractive packaging for your product.
The main difference between printing packaging and printing other standard cut-to-sheet products is that packaging requires a custom dieline. This dieline will be used in the print process to cut the box to the right shape and size, but you will also use it in your design, as it will determine where your design elements should be placed. The placement of your design elements is crucial because, as a designer, you will work on a 2D box net and depending on how the box will fold, some of your design elements will have to be rotated 180 degrees. You will have to visualize how the panels fold and make sure the orientation of your graphics on every panel is correct once the box is assembled.
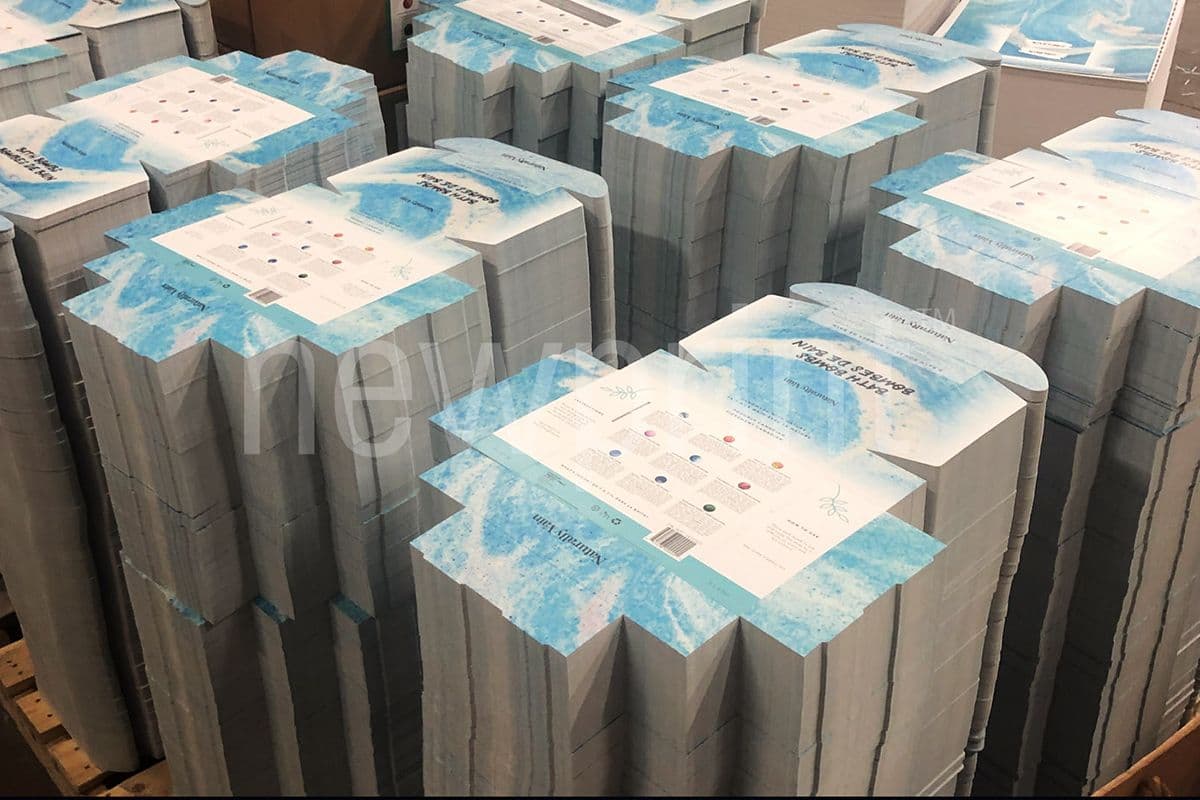
Creating your dielines and box templates can be very challenging.
Luckily, we can help you jump-start your packaging design. On Newprint’s Custom Packaging page, you can generate and download a custom dieline for various boxes and sleeves.
Once you download our dieline template (you can read a quick and straightforward tutorial on How to Download Templates from Newprint in case you need help), it is important that you understand its key elements:
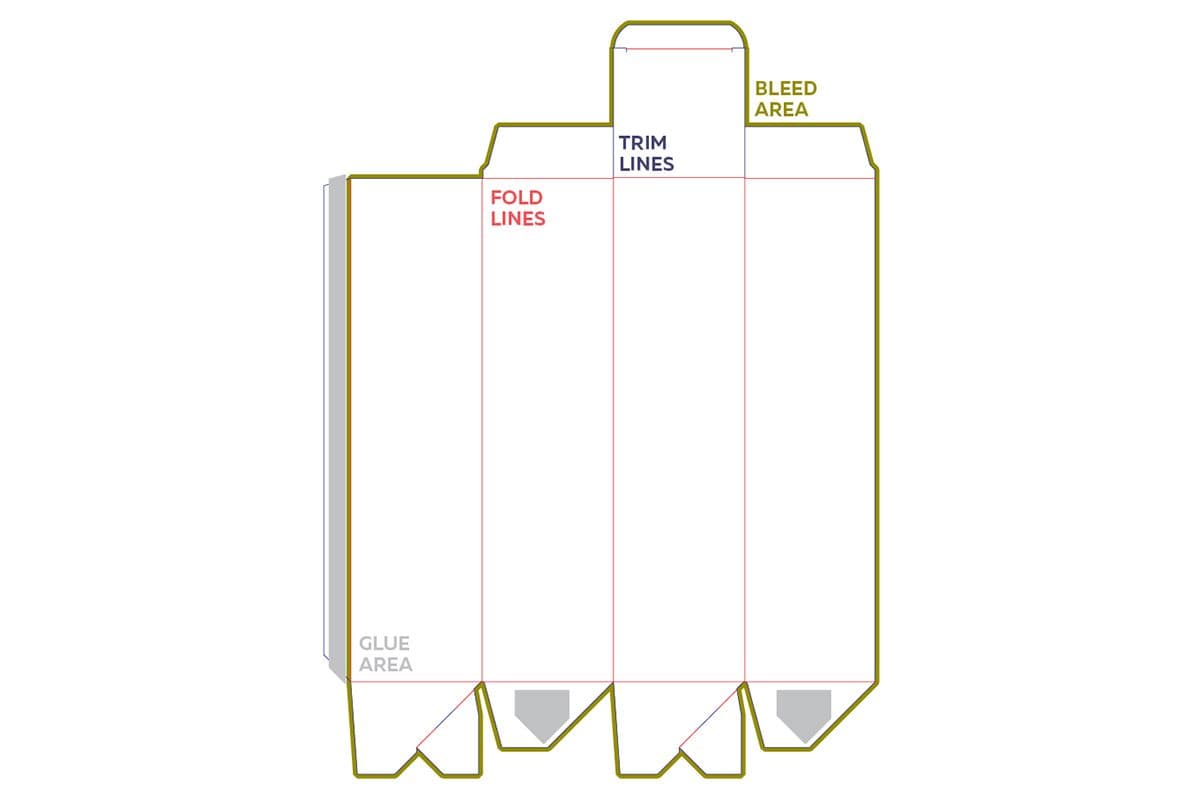
Checklist for creating print-ready files for packaging
- Make sure you use vector graphics in your artwork. Use photographs only if absolutely necessary.
- Set the colour mode of your document to CMYK.
- Adobe Illustrator and Adobe InDesign are the industry standard for print-ready design. Avoid using Photoshop and services such as Canva for setting up print-ready files, especially for packaging.
- All dieline elements must be on their own separate layer and your CMYK/Pantone artwork on another separate layer.
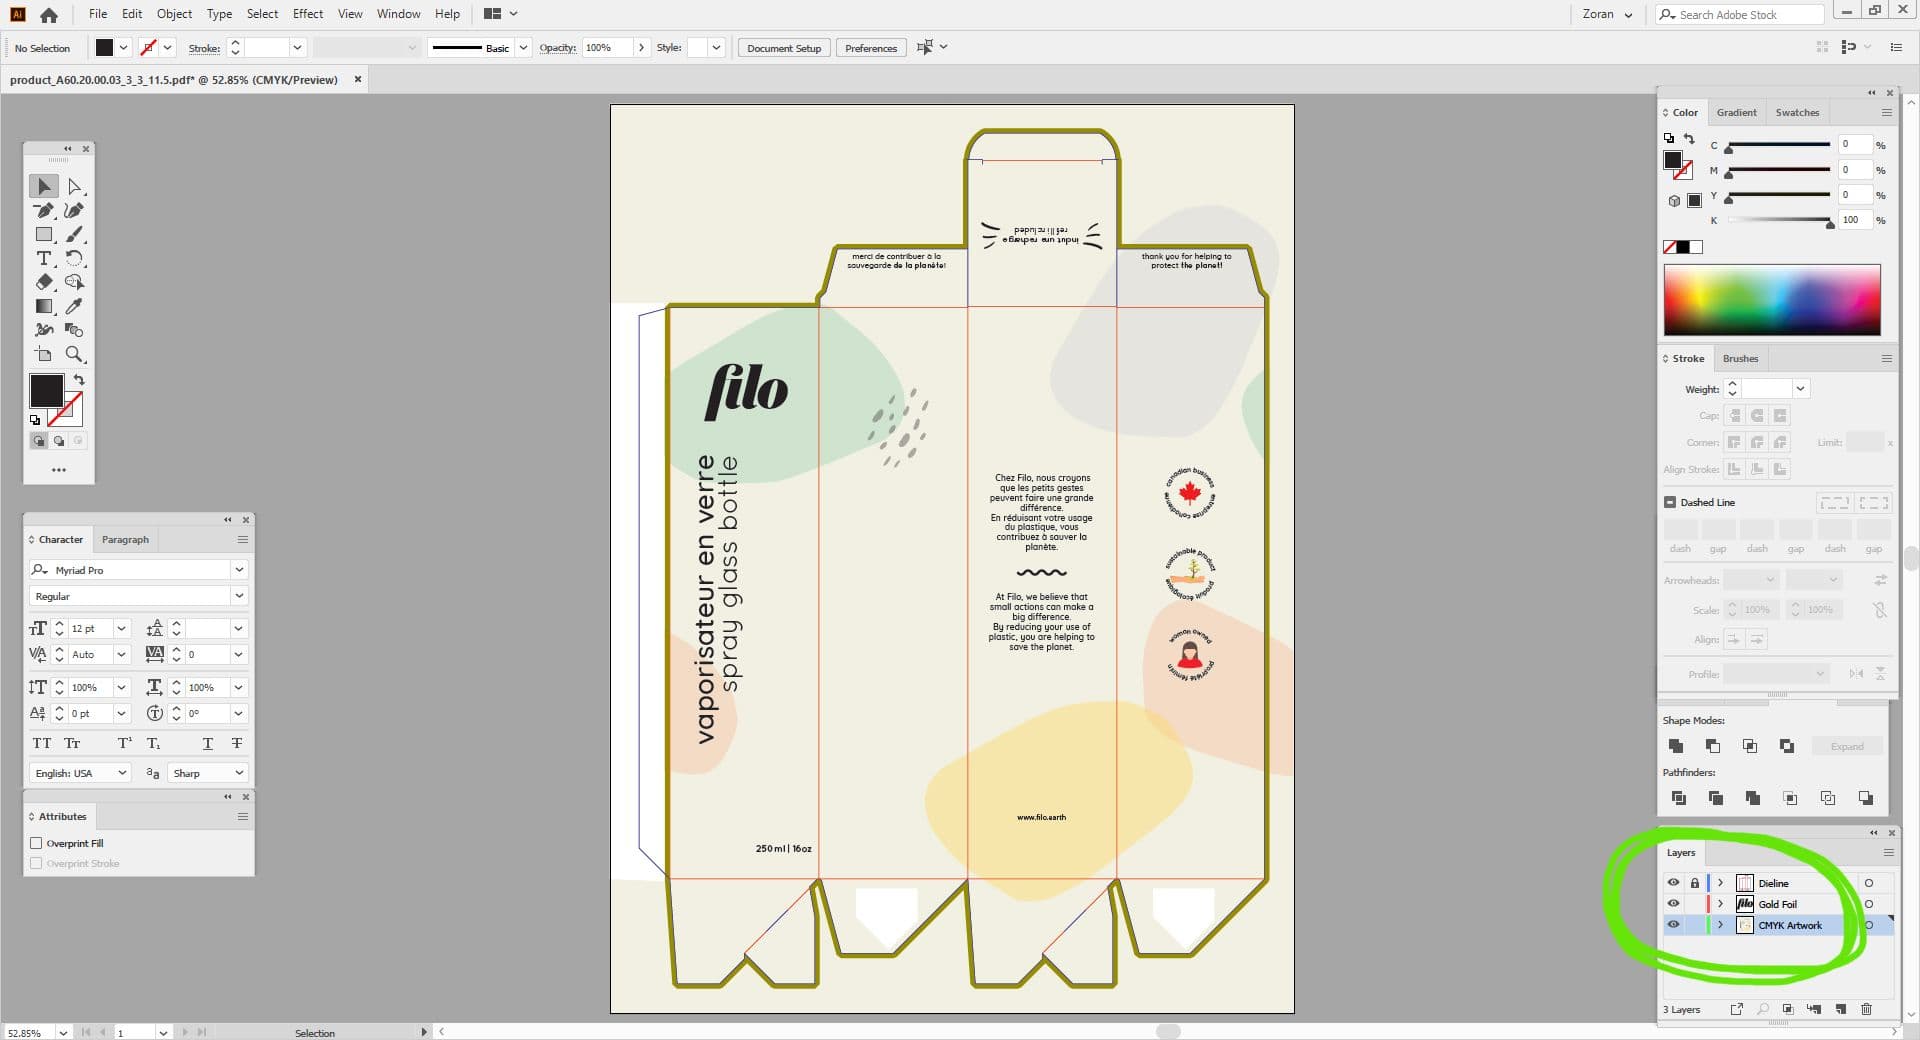
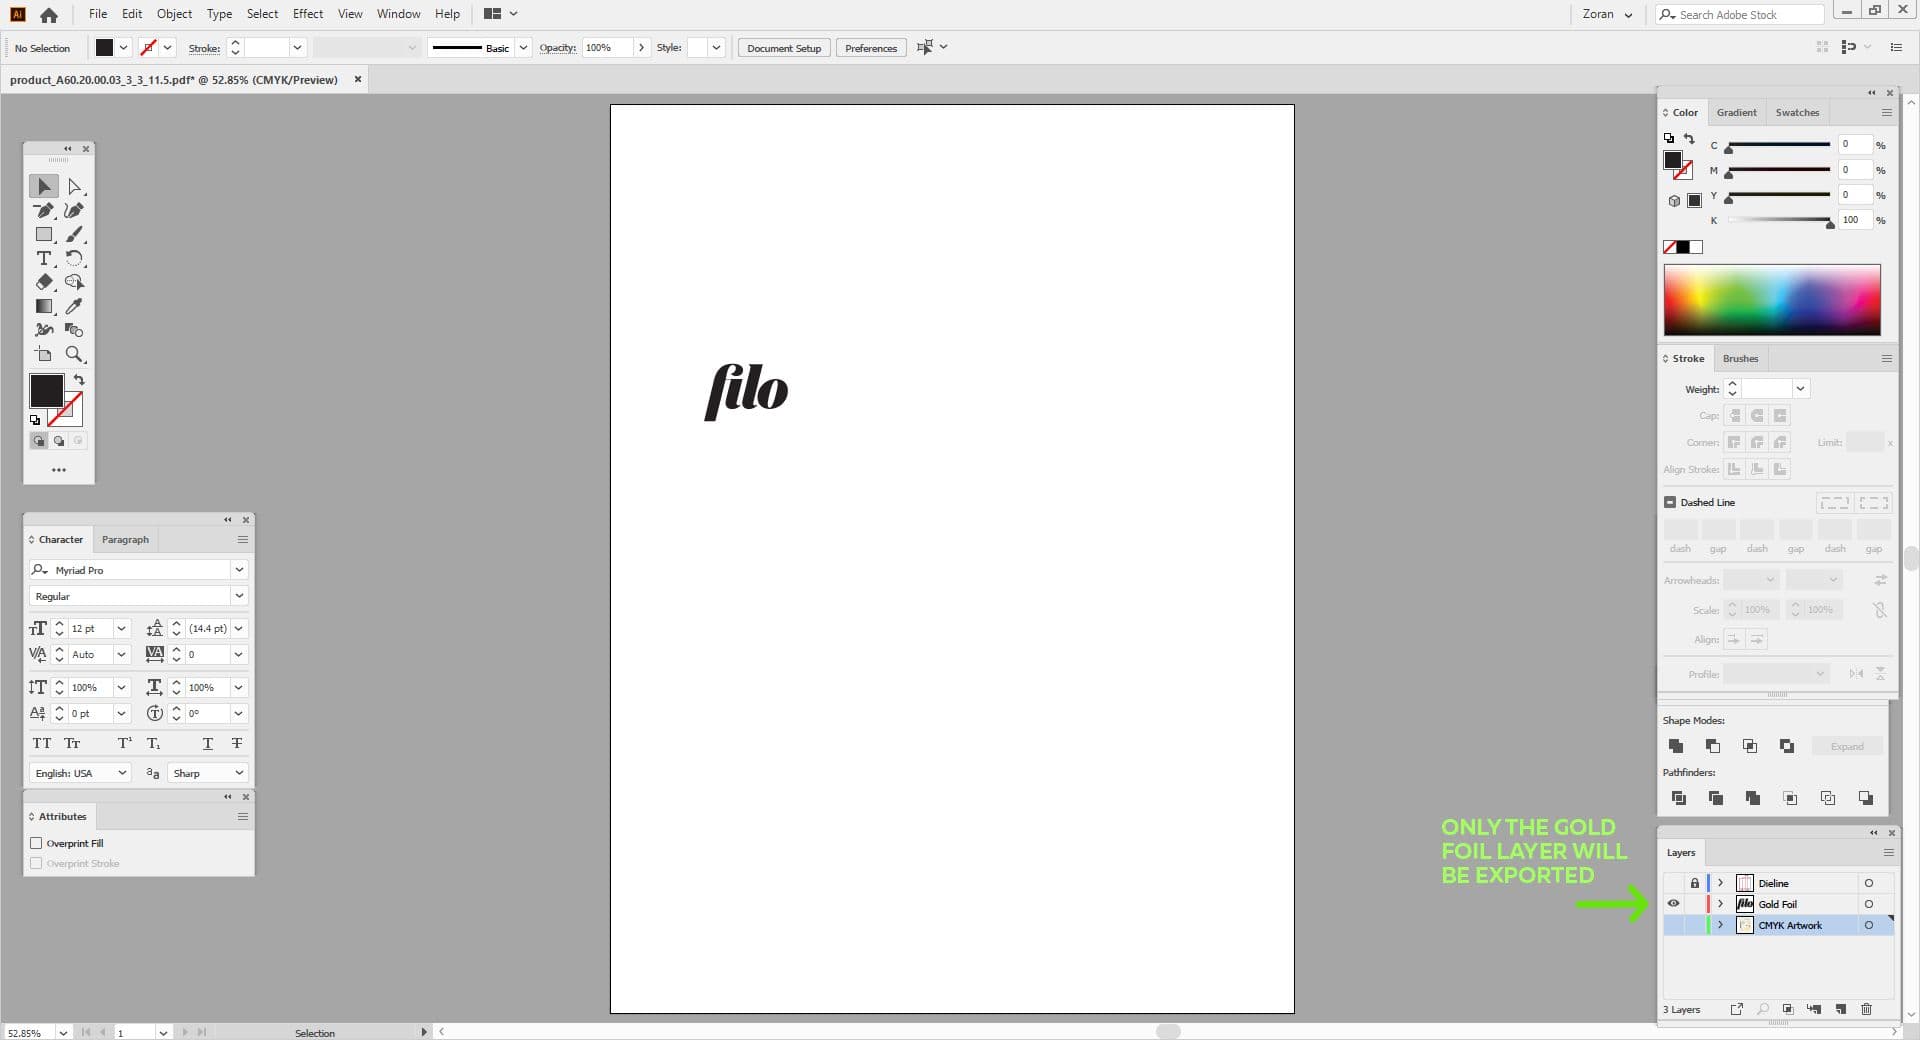
- If your packaging needs to have emboss, foiling or spot UV coating, each of those elements need to be on their own separate layer. To help you with this part, you can read How To Set Up Print Files For Spot UV And Foil Printing. To understand the basics of the foil stamping process, read Foil Stamping - A Touch Of Luxury.
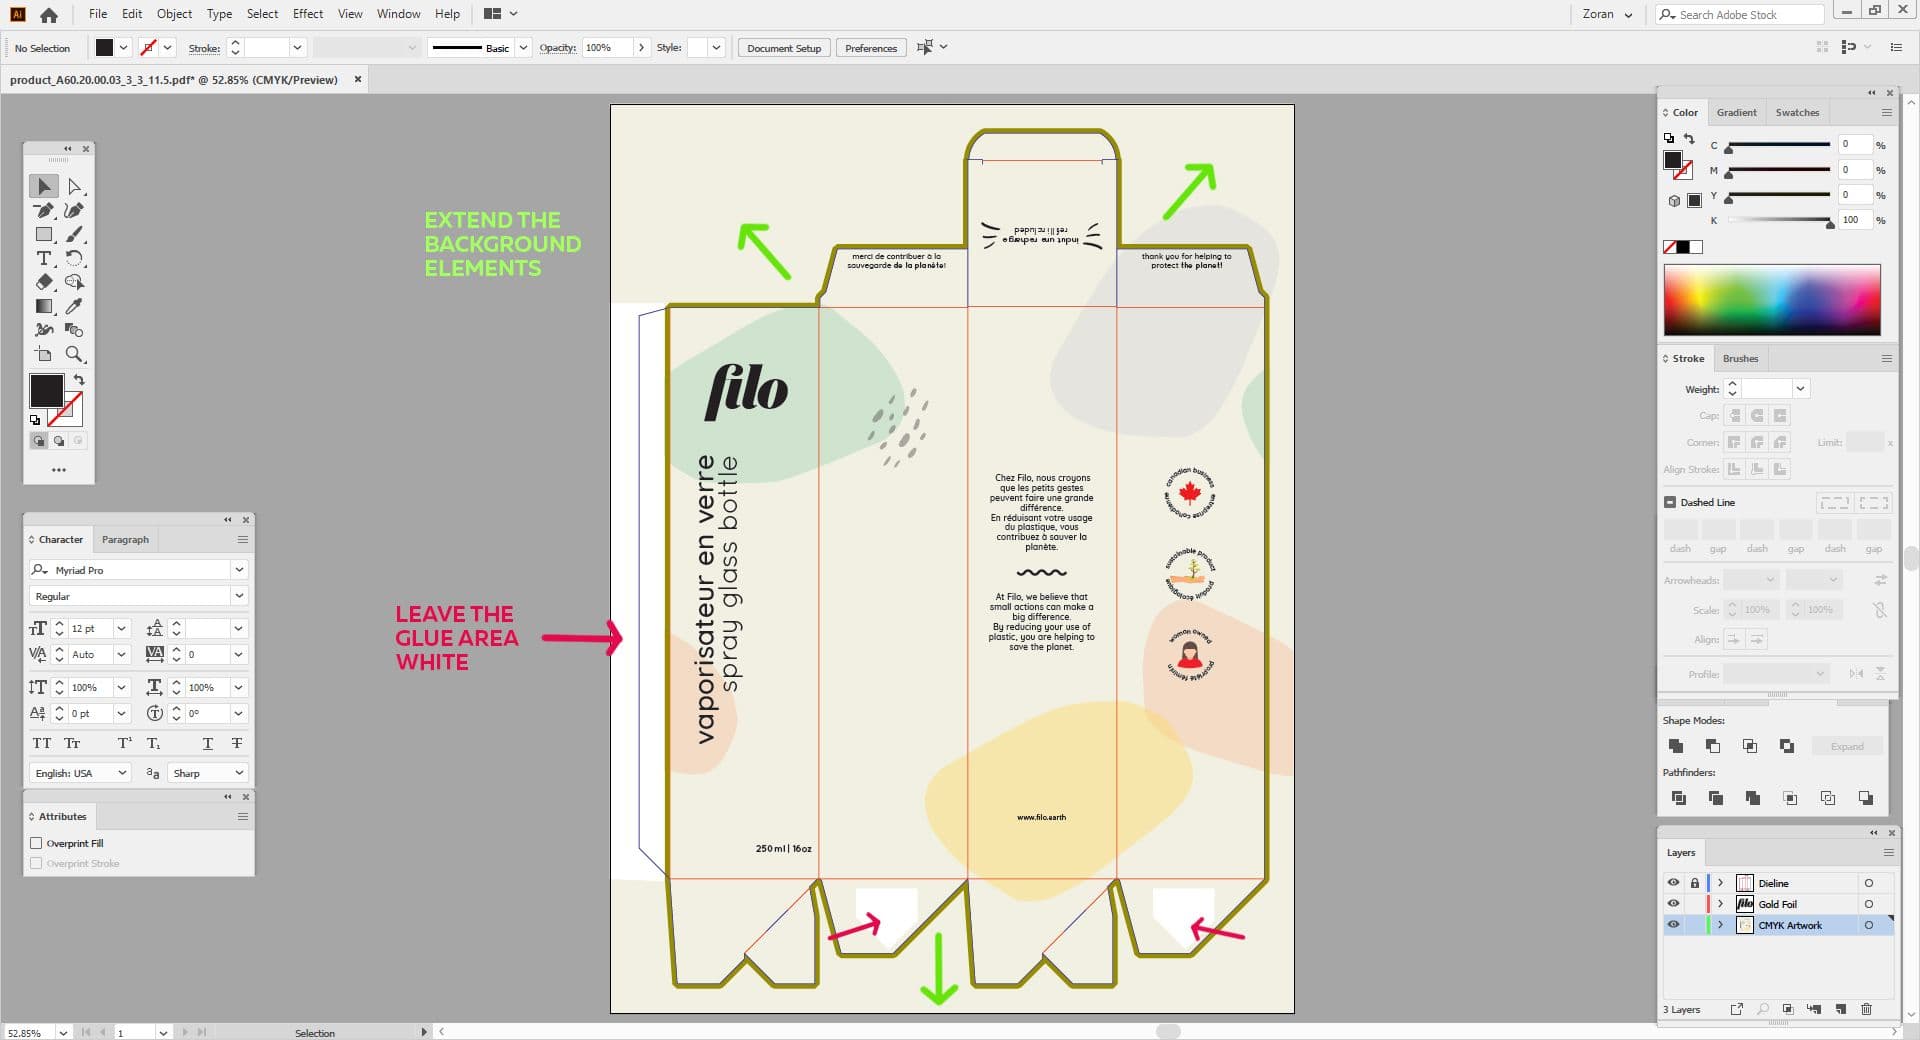
- Your design should extend all the way to bleed lines.
- Your background colour can cover the entire artboard, except the gluing area. That area must remain white.
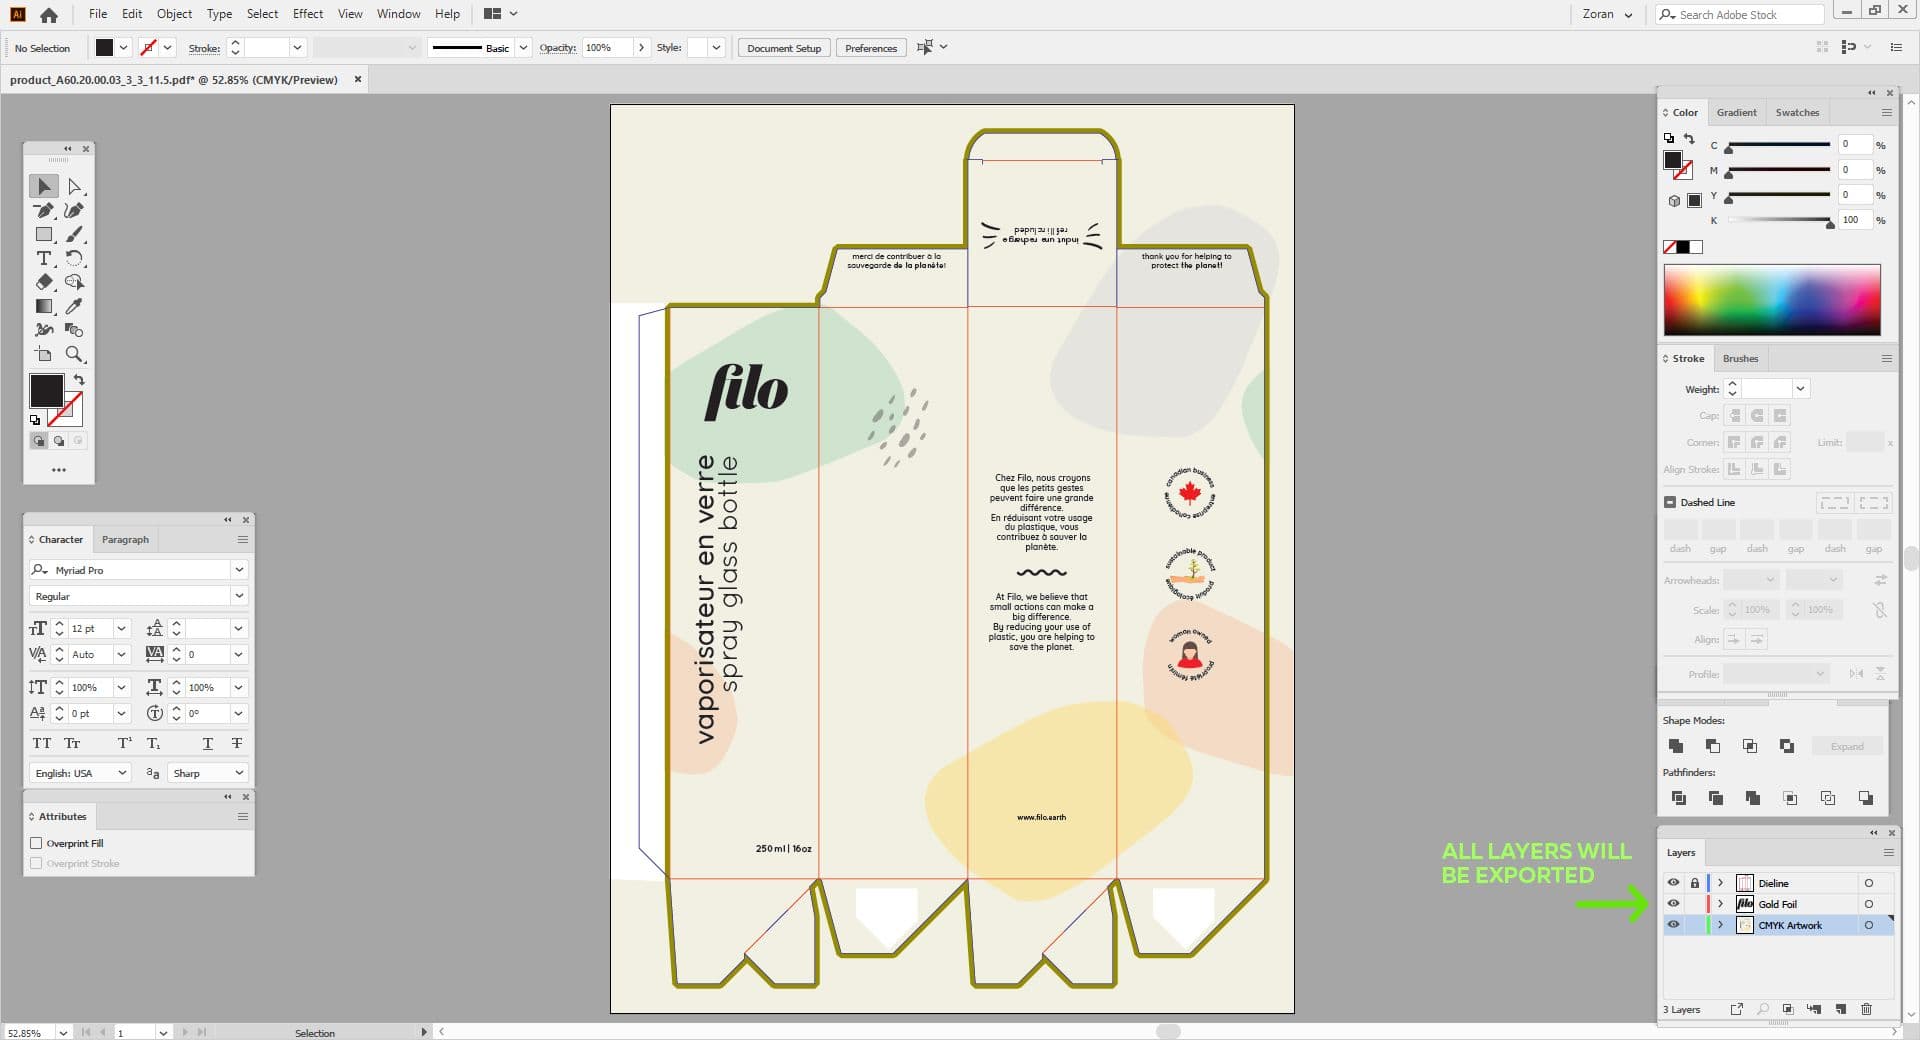
Once your design is finished, all that is left to do is to save your print-ready PDF files. You will need to have several PDFs, depending on how many layers you have. Save the following PDF files:
- One PDF file containing all layers
- One PDF for each of the layers separately (one PDF containing the dieline only, one PDF containing only the CMYK/Pantone artwork, one PDF for the foiling elements only etc.). To save each layer separately, you can simply turn the visibility of layers on and off.
If you would like our team to help you with your design process don’t hesitate to contact us.
